How to prepare for Informatica PowerCenter v9 Developer certification – Part2 (The Reading Material)
This post is in continuation to my previous post on how to prepare for Informatica PowerCenter v9 Developer certification, in which I described the syllabus for the exam,
In this post I will describe how to get the reading material for the certification and which parts to study for an efficient and effective study.
Also, I would like to highlight that there is no substitute for hands on experience, and I would strongly encourage you to practice various transformations and concepts on the PowerCenter tools. You can install a copy of Informatica PowerCenter v9 for personal use by following my six part guide here.
With all the intro aside, lets dive straight into the topic at hand. Where to get the reading material and what to read.
Downloading the reading materials:- The product guides supplied with the product installation package is the main source of reading material. If you followed my guide on how to install informatica, you would have already received all the pdf guides supplied with the product.
or else you can also download the guides for v9.6..1 from the below link. You will have access to this site only if you have an email id of a corporation which is a partner of Informatica. If you belong to such a company you can register with your company email id.
https://mysupport.informatica.com/docs/DOC-14109
If you do not have such access you can try searching for individual pdf files on google and downloading them from the links shown by google which will be mainly from Informatica community website. Any 9.x.x version guide will be good enough for our preparation.
We will need the following 7 guides for the preparation
| IN_961HF2_AdministratorGuide_en.pdf |
| PC_961HF1_DesignerGuide_en.pdf |
| PC_961HF3_TransformationGuide_en.pdf |
| PC_961HF3_TransformationLanguageReference_en.pdf |
| PC_961HF3_WorkflowBasicsGuide_en.pdf |
| PC_961HF3_AdvancedWorkflowGuide_en.pdf |
| IN_961HF3_CommandReference_en.pdf |
Google them individually and download if you do not have access to myinformatica portal.
Which chapters to study?:-
Below is a breakup of each subtopic from the syllabus along with the chapters from the guides that we need to study.
Mapping Design Basics:- 45%
Mapping Design Advanced:- 20%
Others:- 35%
This is the reading material and the chapters we need to study to prepare ourselves for the certification. Hope this is helpful to you.
Next Post(Part3) will be on Architecture and Administration overview and questions we can expect. You can write to me at raghavatalblog@gmail.com or follow me on twitter @atalraghav
How to prepare for Informatica PowerCenter v9 Developer certification – Part1 (The Syllabus)
In this multipart series of posts I will describe how to prepare for PowerCenter v9 Developer certification.
I will cover topics right from getting the syllabus to registering for the exam to preparing for it. It will be a big series which will cover the complete syllabus in depth with some sample questions.
There are two certification offered by Informatica in PowerCenter space – one is for Developers and one for Admins. This series will cover the syllabus for the Developer certification.
Part 1:- What is the syllabus and how to get it?
In order to get the syllabus for the Developer 9.x certification head over to the Informatica community website. From this page download the pdf PowerCenter DI 9x Dev Specialist Skill Set Inventory.pdf.
This 5 page pdf also called the skill set inventory by Informatica contains the information about the developer certification, the topics percentage breakup, question format and the Test topics that will be covered in this certification.
In summary
- The test will consist of 70 multiple choice/multiple response/true-false type questions
- It covers 7 broad topics of Informatica Powercenter product
- Passing grade to achieve Certified Informatica PowerCenter Data Integration 9.x: Developer, Specialist status is 70%
Below are the broad topics and their percentage wise breakup that constitute the test
For subtopics please see pages 3 and 4 of the skill set inventory we downloaded above.
In the next post I will list down how to get the required reading material for each subtopic and the pages and chapters we need to read to cover these topics. All this in Part 2.
Please subscribe to follow along.
How to generate a star pattern using Informatica with a Java Transformation
This post is in continuation to my earlier post where I described how to generate a star pattern without using a Java transformation. In this post I will describe the method to generate this pattern using Java transformation.
Just for the benefit of readers who have not read my previous post, below is the description of the problem which we will solve using a Java transformation this time.
Question:- To generate a star pattern using Informatica depending on the number of rows in the input file
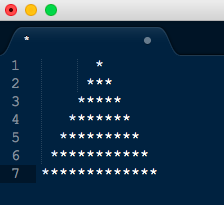
Suppose there are 7 rows in the source file (any type of data), the target should have 7 rows of stars in the following pattern:-
Solution:-
Solving this problem using java transformation is easier than the solution i presented without java transformation in my previous post here.
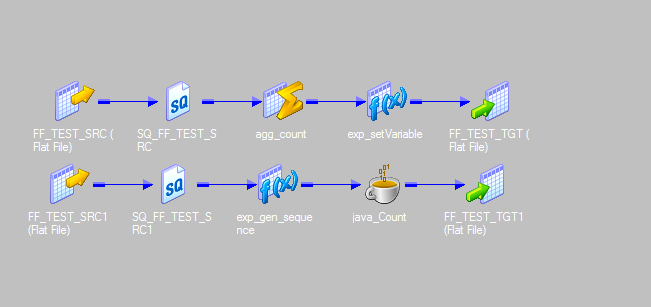
In this mapping also we will have one pipeline to get the row count of the file using aggregator and set it into a mapping variable.
Second pipeline will use a java transformation and some java code magic to generate the required pattern.
Below is the complete mapping screenshot
Mapping explanation:-
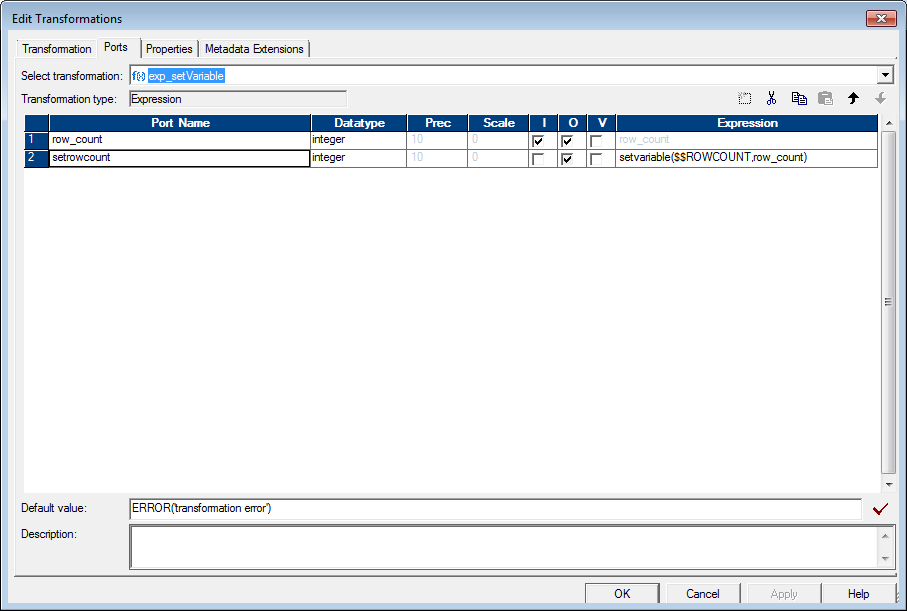
Pipeline 1:- To get the row count in the file. We will use an aggregator to get the count of the rows in the file and an expression to set this count into a mapping variable. Below are the screenshots of the aggregator and the expression used
Pipeline 2:- Here we use the row count, generate a row sequence in and expression and then pass these two values to the java transformation.
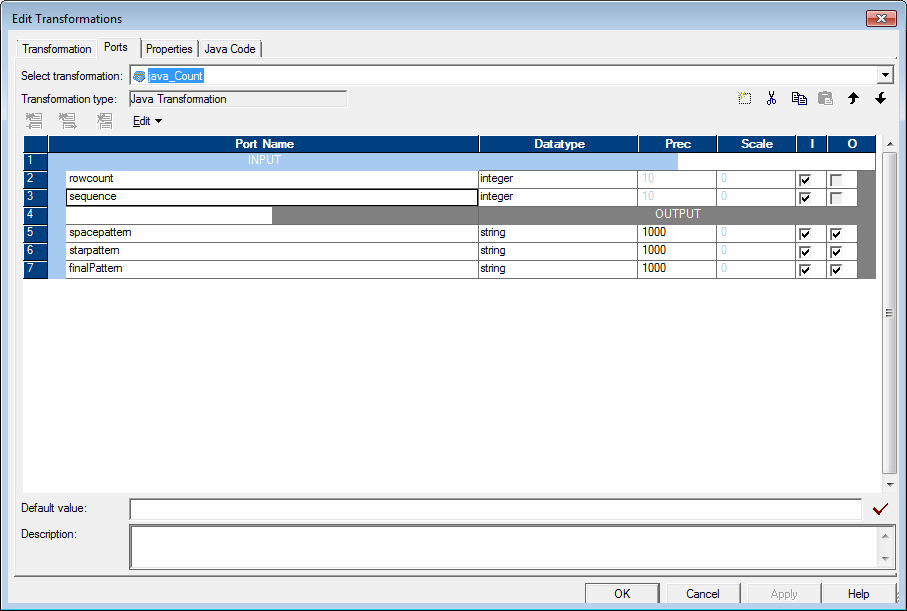
Use Java transformation in Passive mode and create following input and output ports
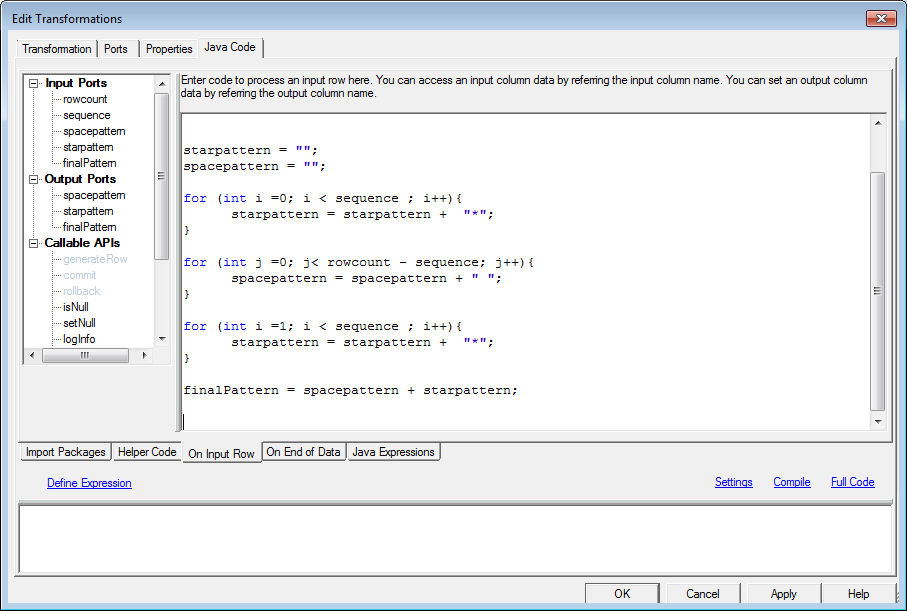
Use below code to generate the star pattern and connect the finalPattern port to target.
The code snippet used above is pasted below:-
starpattern = "";

spacepattern = "";
for (int i =0; i < sequence ; i++){
starpattern = starpattern + “*”;
}
for (int j =0; j< rowcount – sequence; j++){
spacepattern = spacepattern + ” “;
}
for (int i =1; i < sequence ; i++){
starpattern = starpattern + “*”;
}
finalPattern = spacepattern + starpattern;
Well that is all about solving this problem using a java transformation.
let me know in comments if you need any clarifications.
How to install legitimate copy of Informatica v9.6.1 on windows 7 for personal use for free – Part 6
Finally we have reached the 6th and the last part of this series. We have already installed everything and now we need to test it. Please see previous posts if you are catching on from here
- How to get and unpack the legitimate copies of the software packages (see Part 1)
- How to install Oracle 11g and create a database for Informatica repository and domain (see Part 2)
- How to install Informatica 9.6.1 server software (see Part 3)
- How to install Informatica 9.6.1 client software (see Part 4)
- How to create Informatica repository and integration services (see Part5)
- How to test whether the setup is working
Click here for previous post which describes How to create Informatica repository and integration services.
In this final post I will describe how to connect Informatica clients to your server and create and run a test mapping.
STEP1:- Fire up Informatica Repository Manager by going to All Programs-> Informatica 9.6.1-> Client -> PowerCenter Client-> Repository Manager
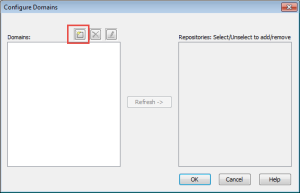
Goto the Repository Menu and click on Configure Domains. You will get the following window. In this window click on the create button inside the red square
Fill in the details as in the screenshot below and click ok. The Details in this screen should match the details you provided while installing the Informatica server. See Part 3 Step 10.
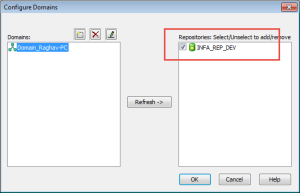
STEP2:- Select the repository from the right hand pane and press Ok
Now you will get the INFA_DEV_REP repository listed on the left hand navigator in Repository Manager
STEP3:- Create a Development folder where we will create our code components for testing. Still In the repository manager connect to the INFA_DEV_REP repository by double clicking the repository icon in the navigator menu. Supply Administrator credentials to login.
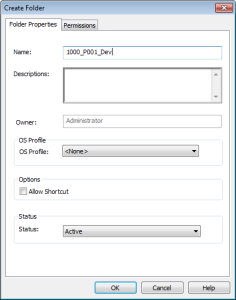
STEP4:- Go to folder menu in Repository Manager and provide the folder name to create and press OK
You will see the folder now created inside the INFA_DEV_REP repository.
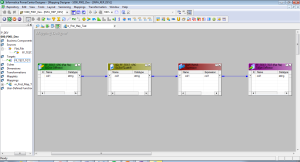
STEP5:- Goto Informatica Designer and login to the repository with Administrator credentials. Create a simple source file to target file one to one mapping in the folder we created in previous step
STEP6:- Goto Informatica Worklfow Manager and create a workflow for this mapping and configure the source and target information in mapping tab
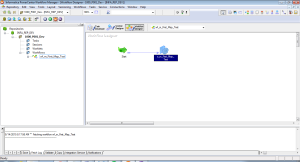
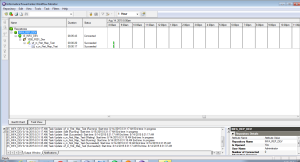
STEP7:- Execute the workflow and check the status in Workflow Monitor
Well this concludes a fairly long process of getting your own copy of Informatica to play with.
Please do provide your feedback and comments if you have any suggestions. You can write to me at raghavatalblog@gmail.com or follow me on twitter @atalraghav
Happy Learning!!
How to install legitimate copy of Informatica v9.6.1 on windows 7 for personal use for free – Part 5
This is the fifth part of the 6 part guide which describes how to install Informatica PowerCenter 9.6.1 for personal use
- How to get and unpack the legitimate copies of the software packages (see Part 1)
- How to install Oracle 11g and create a database for Informatica repository and domain (see Part 2)
- How to install Informatica 9.6.1 server software (see Part 3)
- How to install Informatica 9.6.1 client software (see Part 4)
- How to create Informatica repository and integration services
- How to test whether the setup is working (see Part 6)
Click here for previous post which describes How to install Informatica 9.6.1 client software
In this post I will describe how to create and configure Informatica repository and integration services
This is where we get to login to the Informatica Admin Console
So lets get started!!
STEP1:- Open Informatica Admin console by going to following path
Start->All Programs-> Informatica 9.6.1 -> Server -> Informatica Administrator Home Page
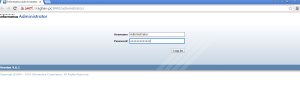
If browser security stops the site from opening (which is hosted locally) you can bypass it and go ahead anyways. You will get below screen, where you will login using Administrator user and password which you created while installing the Informatica Server (see Part 3 – Step10)
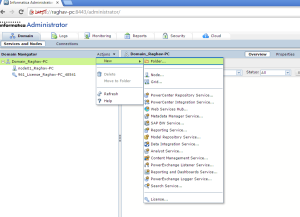
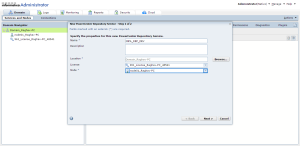
STEP2:- Creating a Repository Service. You will see the screen below, here click on Actions->New->PowerCenter Repository Service.
STEP3:- Fill in the details as in the screenshot below and press Next
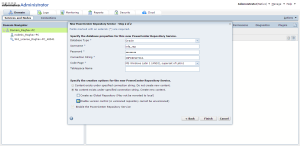
STEP4:- Fill in the details as in the screenshot below and press Finish. Use the infa_rep schema password you created while installing Oracle 11g database. See Part 2 Step 10.
This will create the repository service and start it in the exclusive mode. Keep the repository service in exclusive mode until we have created the integration service and are ready for connectivity from the client. Once we are ready we will recycle the repository service in Normal mode.
STEP5:- Creating Integration Service. Again go to Actions->New->PoweCenter Integration Service
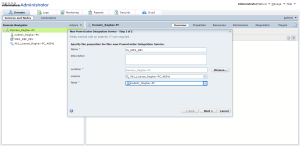
STEP6:- Fill in the details as in screenshot below and press Next
STEP7:- In the next screen select the INFA_REP_DEV repository that we created in previous steps and provide Administrator username and password and press Finish
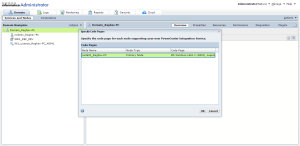
STEP8:- In the next dialogue box select the code page
This will create and start the Integration service. Now we are ready to bring the repository service in Normal mode
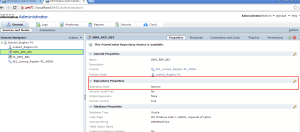
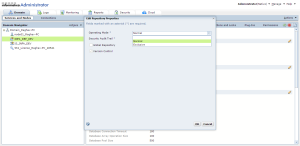
STEP9:- Recycle the Repository service to start in Normal mode. Click on the repository service on the left hand many in Domain Navigator. Click the edit icon Repository properties and select Normal mode from drop down.
This completes the setup of the repository and integration services. Now we are ready to connect the clients to the services and do a test run which I will describe in my next and final post in this series.
To Informatica Nirvana!!!
How to install legitimate copy of Informatica v9.6.1 on windows 7 for personal use for free – Part 4
This is the fourth part of the 6 part guide which describes how to install Informatica PowerCenter 9.6.1 for personal use
- How to get and unpack the legitimate copies of the software packages (see Part 1)
- How to install Oracle 11g and create a database for Informatica repository and domain (see Part 2)
- How to install Informatica 9.6.1 server software (see Part 3)
- How to install Informatica 9.6.1 client software
- How to create Informatica repository and integration services (see Part5)
- How to test whether the setup is working (see Part 6)
Click here for previous post which describes How to install Informatica Server
In this post I will describe How to Install the Informatica 9.6.1 client software
Without further ado lets dive in!!
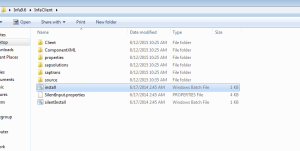
STEP1:- Goto the InfaClient folder that we created while unpacking the Informatica 9.6.1 package as mentioned in Step8 of part 1 of this post. Double click the install batch file to begin client installation.
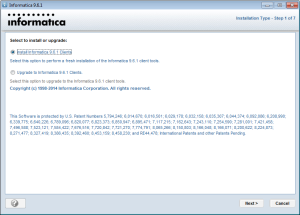
STEP2:- In the next screen select the option Install Informatica 9.6.1 clients and then click Next.
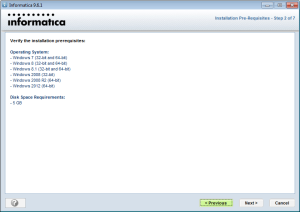
STEP3:- Ensure you have 5GB of free disk space and click Next on the next screen
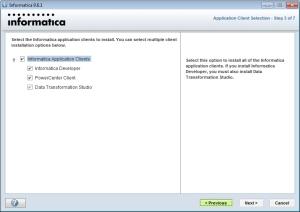
STEP4:- Select all the option on the next screen and click Next
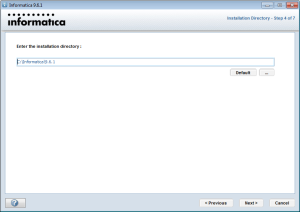
STEP5:- Provide the installation directory where you want it to be installed. Keep the default.
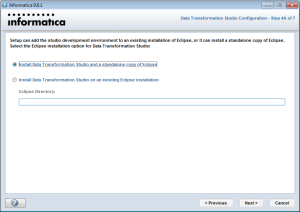
STEP6:- Select Install Data Tranformation Studio and a standalone copy of Eclipse in the next screen and click Next
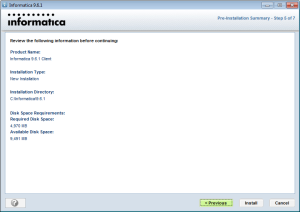
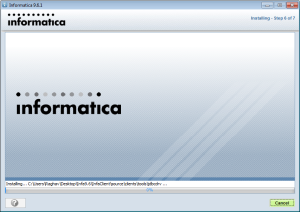
STEP7:- Click Install on the next screen to start the installation of client software
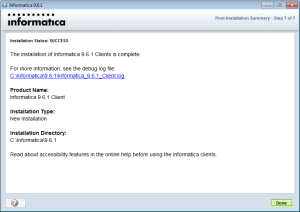
STEP8:- Click Done when installation is complete
This completes the client installation and you can find the PowerCenter Designer, Workflow Manager and Monitor tools in your All Programs-> Informatica 9.6.1 menu.
We are done with 80% of the work. Now we are left with creating the repository and integration services and testing if it all works.
See Part 5 on How to create repository and integration services.
Lets Go!!
How to install legitimate copy of Informatica v9.6.1 on windows 7 for personal use for free – Part 3
This is the third part of the 6 part guide which describes how to install Informatica PowerCenter 9.6.1 for personal use
- How to get and unpack the legitimate copies of the software packages (see Part 1)
- How to install Oracle 11g and create a database for Informatica repository and domain (see Part 2)
- How to install Informatica 9.6.1 server software
- How to install Informatica 9.6.1 client software (see Part 4)
- How to create Informatica repository and integration services (see Part5)
- How to test whether the setup is working (see Part 6)
Click here for previous post which describes How to install and configure Oracle 11g database for Informatica installation.
In this post I will describe the steps needed to install the Informatica 9.6.1 server software.
So here we start..
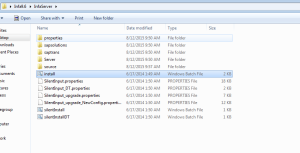
STEP1:- Goto the InfaServer folder which we created during unpacking of the Informatica 9.6.1 package. See Step 8 in part 1 of this post. Click on the install batch file in the InfaServer folder to start the installation process
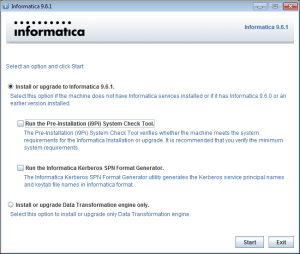
STEP2:- Select Install or upgrade to Informatica 9.6.1 option on the next screen
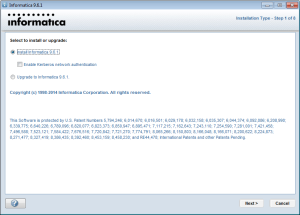
STEP3:- Select Install Informatica 9.6.1 on next screen
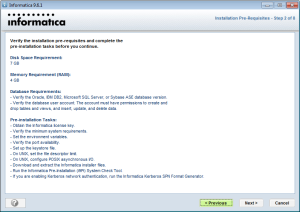
STEP4:- Click Next on the next screen. Ensure you have 7GB of disk space free and at least 4GB of RAM.
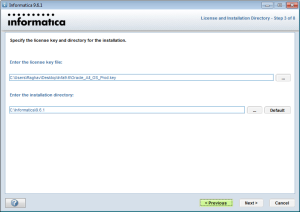
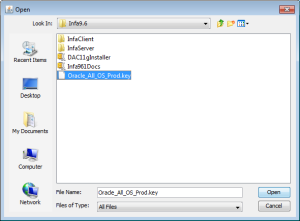
STEP5:- On the next screen locate the license file (Oracle_All_OS_Prod.key) and provide the path here. This file came with the downloaded package. See part 1 Step 8 to get this file.
Also provide the path where you want to install Informatica. Keep default if you do not want to change. Press Next.
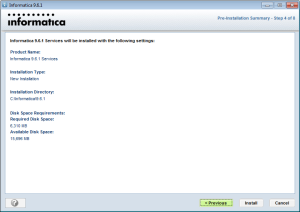
STEP6: – Click Install
Installation process will start and take a while. So chill!!
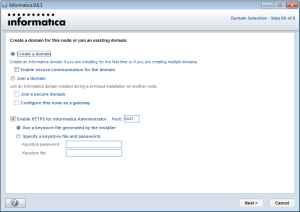
STEP7:- After the installation you will be prompted to create the Domain. Select options as per the screenshot below
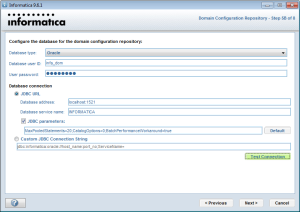
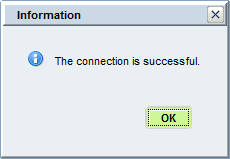
STEP8:- Provide the database information as we created in Part 2. Fill in the details as per the screenshot below. Press Test Connection button to test if Informatica is able to talk to your INFORMATICA database.
STEP9:- In the next screen provide any string which follows the password standards as it will be used as an encryption key. It is used when you move a repository to another domain. We do not need this for normal functioning of Informatica. But keep this key safe, just in case you need it. You will get below message after you select Next on this screen
STEP10:- In the next screen you will be asked to enter details for the domain you are creating like the name, port, host and Administrator user etc. Provide the information as per the screenshot below. Whatever you provide keep the details safe as you will need it when we configure the repository. The Administrator user mentioned here is used to login to the Admin console, therefore keep the password safe. Press Next
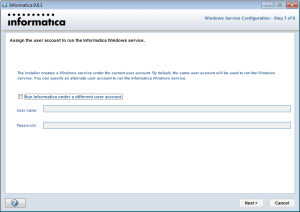
STEP11:- In the next screen uncheck the box as you would like to run the Informatica service with the same user as your windows account.
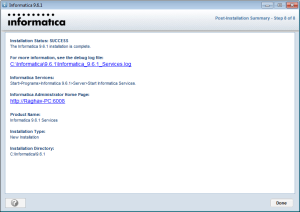
STEP12:- Click Next and you are Done installing the Informatica Server on your machine.
This completes the Informatica Server Installation and next up we will see how to install the client software in Part 4 of this post.
By now I hope you are not bored as this is a long process and takes lot of dedication on your part. kudos to your effort and thanks for following until now.
Part 4 here we come!!
How to install legitimate copy of Informatica v9.6.1 on windows 7 for personal use for free – Part 2
This is the second part of the 6 part guide which describes how to install Informatica PowerCenter 9.6.1 for personal use
- How to get and unpack the legitimate copies of the software packages (see Part 1)
- How to install Oracle 11g and create a database for Informatica repository and domain
- How to install Informatica 9.6.1 server software (see Part 3)
- How to install Informatica 9.6.1 client software (see Part 4)
- How to create Informatica repository and integration services (see Part5)
- How to test whether the setup is working (see Part 6)
Click Here previous post (part1) which describes how to get and unpack required software packages
In this part I will describe How to install Oracle 11g and create a database for Informatica Repository and Domain
So here we go..
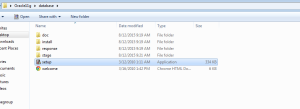
STEP1:- Go to the unzipped database folder which we unpacked in the part 1 of this post (STEP 7) and run the setup file
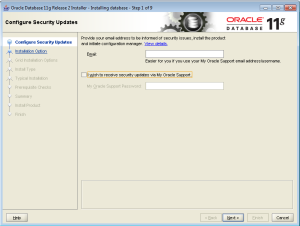
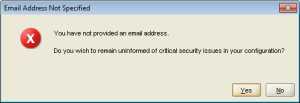
Leave everything blank in the next screen and uncheck the box for My Oracle support and press next. Ignore the warning popup and press Yes.
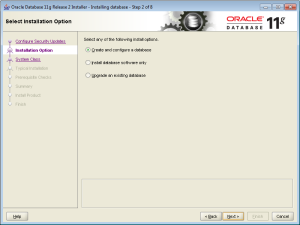
STEP2:- Select the option to Create and Configure a database
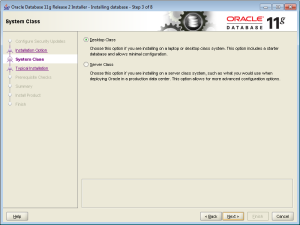
STEP3:- Select Desktop Class installation in the next screen
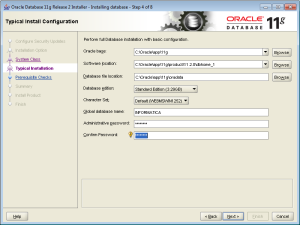
STEP4:- Set the properties in the next screen as per the screenshot below. Note Down the password you provide here. Also make sure you note down the Global Database Name your provide. Click Next
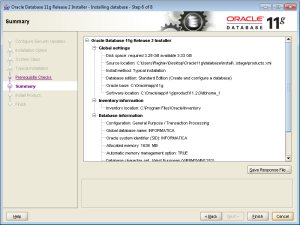
STEP5:- Wait for pre-requisites check to complete and then press Finish
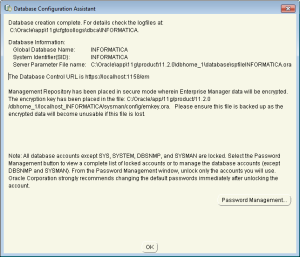
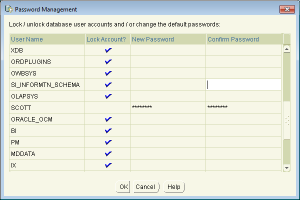
STEP 6:- After this database configuration assistant will popup. Here click on the Password Management button
unlock the following accounts and provide the same password you provided in STEP4 above.
SYS, SYSTEM and SCOTT
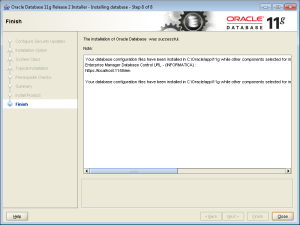
STEP7:- This will complete the installation of Oracle 11g on your windows 7 machine
Now we will create schemas for Informatica Domain and Informatica Repository databases. We will also provide some grants required for Informatica to install repository on this database
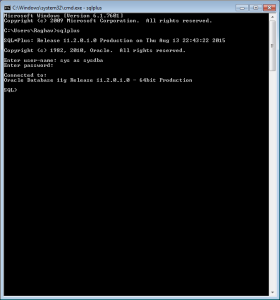
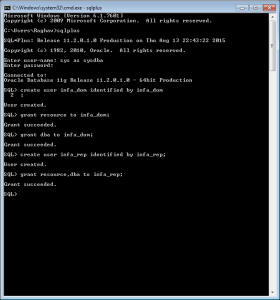
STEP8:- Goto command prompt on the windows 7 machine and type sqlplus on command line
Enter the username and password.
Username :- sys as sysdba
Password:- As in step 4
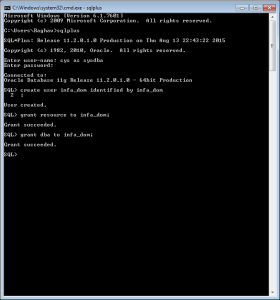
STEP9:- Create schema for Informatica Domain
Schema name:- infa_dom
Identified by: – infa_dom
Command:- create user info_dom identified by info_dom
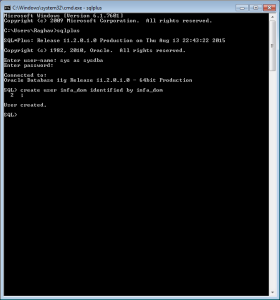
I have kept the password same as Schema Name for simplicity. You can give anything you like but do note it down as we will need this during Informatica server installation.
Run the following grants after user is created
Grant resource, dba to infa_dom;
STEP10:- Follow similar steps to create schema for Informatica Repository database
Schema Name :- infa_rep
Identified By :- infa_rep
Grant resource, dba to infa_rep;
Keep the passwords safe for infa_rep and infa_dom schemas that we just created. We will use it while installing the Informatica Server.
This completes the Oracle 11g installation and configuration of database for Informatica installation. Please see part 3 of this post to continue with the Informatica Server installation.
You can write to me at raghavatalblog@gmail.com or follow me on twitter @atalraghav
See you in a bit!!
How to install legitimate copy of Informatica v9.6.1 on windows 7 for personal use for free – Part 1
Recently I installed Informatica v9.6.1 and Oracle 11g (for repository database) on a windows 7 virtual machine on my macbook air. Here I will be sharing a step by step guide on how you can also install latest Informatica PowerCenter software for personal use. I am assuming you already have a windows 7 machine, either virtual or dedicated, hence I will be leaving it out of this guide.
As this is a long process I am dividing this guide into 6 parts. Each covering one of the below topics needed for the installation.
- How to get and unpack the legitimate copies of the software packages
- How to install Oracle 11g and create a database for Informatica repository and domain (see Part 2)
- How to install Informatica 9.6.1 server software (see Part 3)
- How to install Informatica 9.6.1 client software (see Part 4)
- How to create Informatica repository and integration services(see Part5)
- How to test whether the setup is working (see Part 6)
So we start with the first step
How to get and unpack the legitimate copies of the software packages for free
STEP1:- Head over to the Oracle cloud delivery link:- Oracle Coud Delivery
STEP2:- Sign In if you already have an account or register for free if you don’t have one
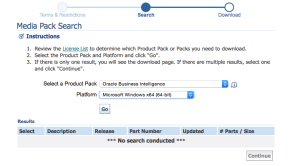
STEP3:- After logging in accept the terms and conditions then select the following options in the subsequent screen
STEP4:- Download Oracle 11g by selecting options as shown in the screenshot below. Use 32 bit software if you have a 32 bit windows
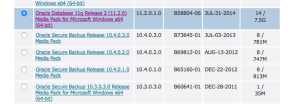
Press Go and you will get following options, select the one highlighted below
Download the below two packages from the next screen
It will take a while to download, meanwhile follow next steps to get the Informatica package 9.6.1.
STEP5:- Download Informatica 9.6.1 package from the same Oracle Cloud delivery portal as in step 1
STEP6:- Select the options as shown in the following screenshots to get the PowerCenter 9.6.1 package
Press Go and select following from subsequent screen
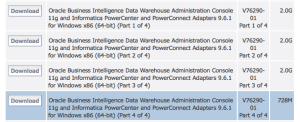
Then download the following four files from the list in subsequent screen
This is an even bigger download than the Oracle package and it may take a while before you are ready for the unpacking of the software
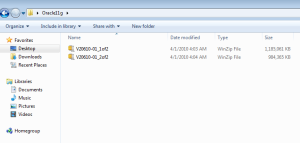
STEP7:- After the Oracle 11g files are download unpack the package. You will have two files which you need to select together and unzip into the same folder. Ignore if there are any errors and just skip to next file.
Select both the files and unzip into same folder
You will get a folder named database in the directory containing the zip files. Go inside the database folder and you will see the setup file
You can run the setup file now and follow the instructions in the Part 2 of this post. Remainder of this post will describe unpacking the Informatica 9.6.1 package which is bit more involved process than the Oracle unpacking
STEP8:- Unpacking Informatica PowerCenter 9.6.1 package. You would have downloaded following four files as part of Step6 above
Select all four files and unzip into the same folder. You will get following four files after unzipping. There will be one more zip and three accompanying files
Unzip the zipped file into the same folder. This will use the other three files during the unzipping process. Ignore and skip if there are any errors during unzipping. You will get the following 5 files in your directory
Oracle_All_OS_Prod.key – This is the never expiring license file for the Informatica PowerCenter 9.6.1 package. We will need this while installing the server file
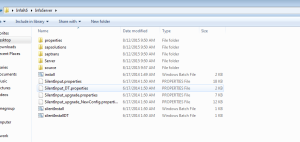
961_Server_Installer_winem-64t – This zip file contains the server software which we need to install to run the Informatica PowerCenter Server. Unzip the file into a subdirectory named InfaServer (create new) to get the following files in it. We will use the install file in this directory to install the server. Please refer Part 3 of this post to find instruction for installing the server.
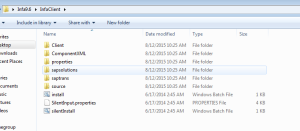
961_Client_Installer_win32-x86 – This zip file contains the client software (Designer, Monitor, Workflow Manager etc). We will install this after installing the server software. Unzip the file into a subdirectory named InfaClient (create new) to get the following files in it. We will use the install file in this directory to install the Informatica clients. Please refer to Part 4 of this post to find instructions for installing the clients.
This concludes Part 1 of this Post. We are ready with all the installer files to install PowerCenter 9.6.1 on our windows 7 machine.
Please follow Part 2 of this post to start the Oracle 11g installation and configure the database to be used as Informatica Repository.
You can write to me at raghavatalblog@gmail.com or follow me on twitter @atalraghav
See you there!!


